The Homemade Jelly Soap recipe we are sharing today can either be used for hand soap or body wash. We opted for hand soap, but if you’d like to use it as body wash, you can just substitute they type of soap you use in your recipe.
Jelly soap actually works quite well in the shower, because you can put smaller pieces of the jelly soap in loofahs and sponges, and it really helps create more suds and bubbles.
Kids tend to love jelly soap, but please use with caution around younger children. Jelly soap looks a lot like JELL-O but it’s not to be eaten. If you have smaller kids in the house you may want to save this recipe for later. And no matter what the age, if you make this soap, make sure you tell your family members what it is. Because it keeps best in the fridge, you’ll not want any accidental “tastings” by anyone in your home. Got it? Good.
Making Jelly Soap
To make jelly soap, gather the following ingredients and materials:
.25 ounce pouch unflavored gelatin
1 cup boiling water
1/2 cup liquid hand soap or body wash
Food coloring, optional (I used blue and pink)
Silicone mold for jelly soaps
In case you’ve never purchased unflavored gelatin, you can find it in the baking aisle of your local grocery store.
To begin making the soap, dissolve the gelatin in boiling water, add the liquid soap or body wash and the food coloring.
Gently use a whisk to ensure the mixture is combined. You don’t want to stir too hard or you’re going to create tons of bubbles. Bubbles aren’t great for when you pour the soap.
If you find that you’ve gotten overly excited in your stirring process, you can spray a little rubbing alcohol on top of the soap after you pour it into the mold, and it should take care of any bubbles.
For each batch of soap I made, I used two drops of food coloring to brighten up the soap.
Before you begin to pour the soap, make sure your mold is on top of a tray or cookie sheet for easy transporting to the fridge. Then, pour away.
Remember that every silicone mold is different. If you use the mold I did, you’ll get about eight jelly soaps per batch. I didn’t fill the cups all of the way because I didn’t want the individual soaps too thick.
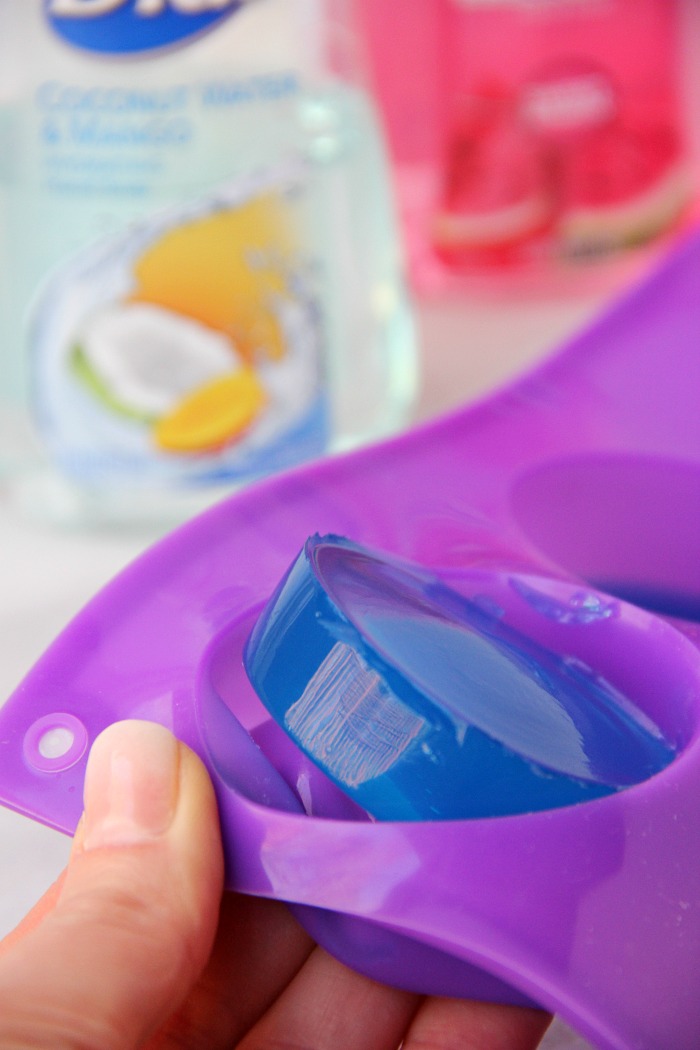
 After allowing the soaps to set in the fridge for a few hours, I gently popped them out of the mold one by one.
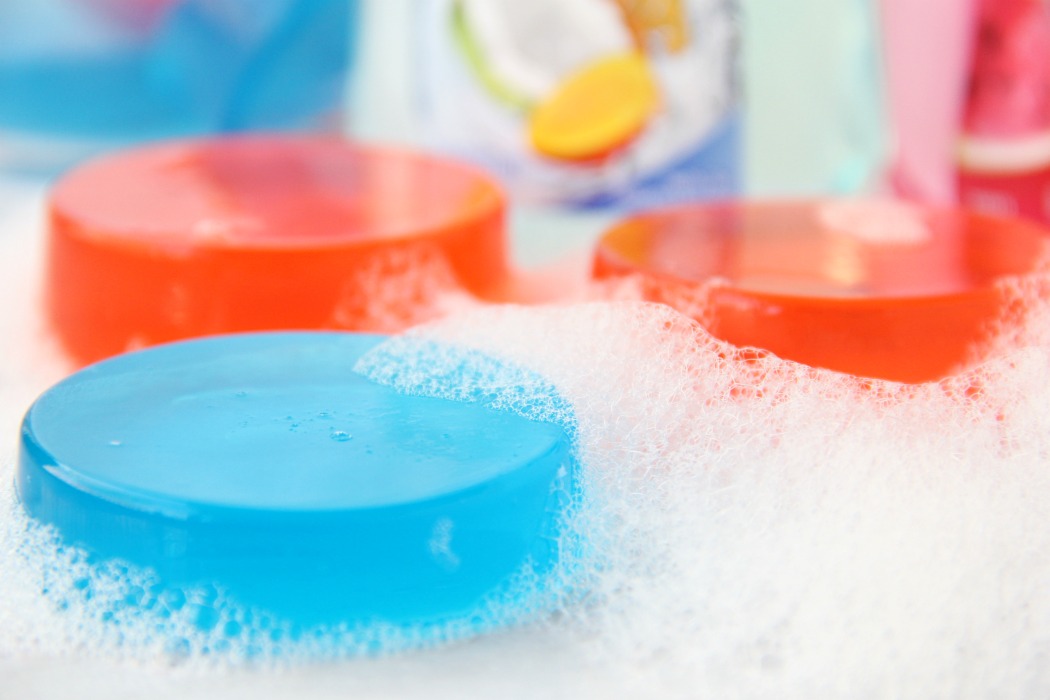
Isn’t this jelly soap cute? It’s so much fun and I love that you can see right through it.
Once you get them nice and wet, they’ll start to suds up.
And remember, if you leave them out at room temp for too long, they’ll begin to melt.
So store them in an air tight container in the fridge.
Have fun with this jelly soap recipe! And if your kiddos are old enough, get them involved in the creation process!
Happy hand and body washing!