Creating Rainbow Beans:
White Beans – we got 3kg of beans!
Neon Food Dye. The brighter the better!
Rubbing Alcohol
Essential Oils for scents
Large Ziplock Baggies
MAKING THE RAINBOW
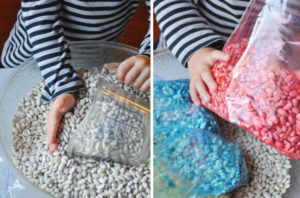
Split the beans into baggies. We put about 2 cups of beans into each baggie to make each color. Add drops of food dye. We used about 15 drops of each color to get the vibrant colors. After you add the drops, add 1/4 (roughly) cup of rubbing alcohol to the baggie. This will help spread the color through the beans – helps the beans absorb the dye and as it evaporates quickly your beans should be ready for play in just a couple hours! Mix the bags by “smushing” the baggies to distribute the color evenly.


SCENTS FOR SENSORY PLAY
Next you get to add scents!
The scents go a long way. Encourage your kids to NOT put the beans in their mouths, we suggest only using two or three oils so the scents are not overwhelming.
After you add your oils, let the beans sit out for a couple of hours on cookie sheets – while the color cures. This is an important step as you need the alcohol to completely evaporate. We did not notice any bleeding of the colors on our kids hands as the alcohol helped the dye absorb into the beans. If you leave that ingredient out the dye tends to rub off – it’s not excessive, not enough to stain clothes, you’ll just need to have your kids wash their hands when they are done.
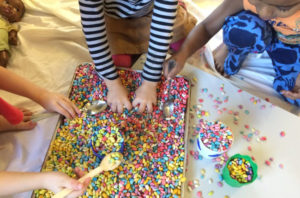
There are SO many ways that your kids can enjoy these colorful beans.
Hope you have a blast with these beans, we have! You can use them in tube play, in a sensory tub, or you can make colorful mosaics.


